默认状态
在 Shopify 官方推出的 2.0 主题中,页脚部分的 “电子邮件注册信息” 模块以及 Footer 页脚中的邮箱收集 Block(块)都只能收集邮箱,不支持让客户填写名字。
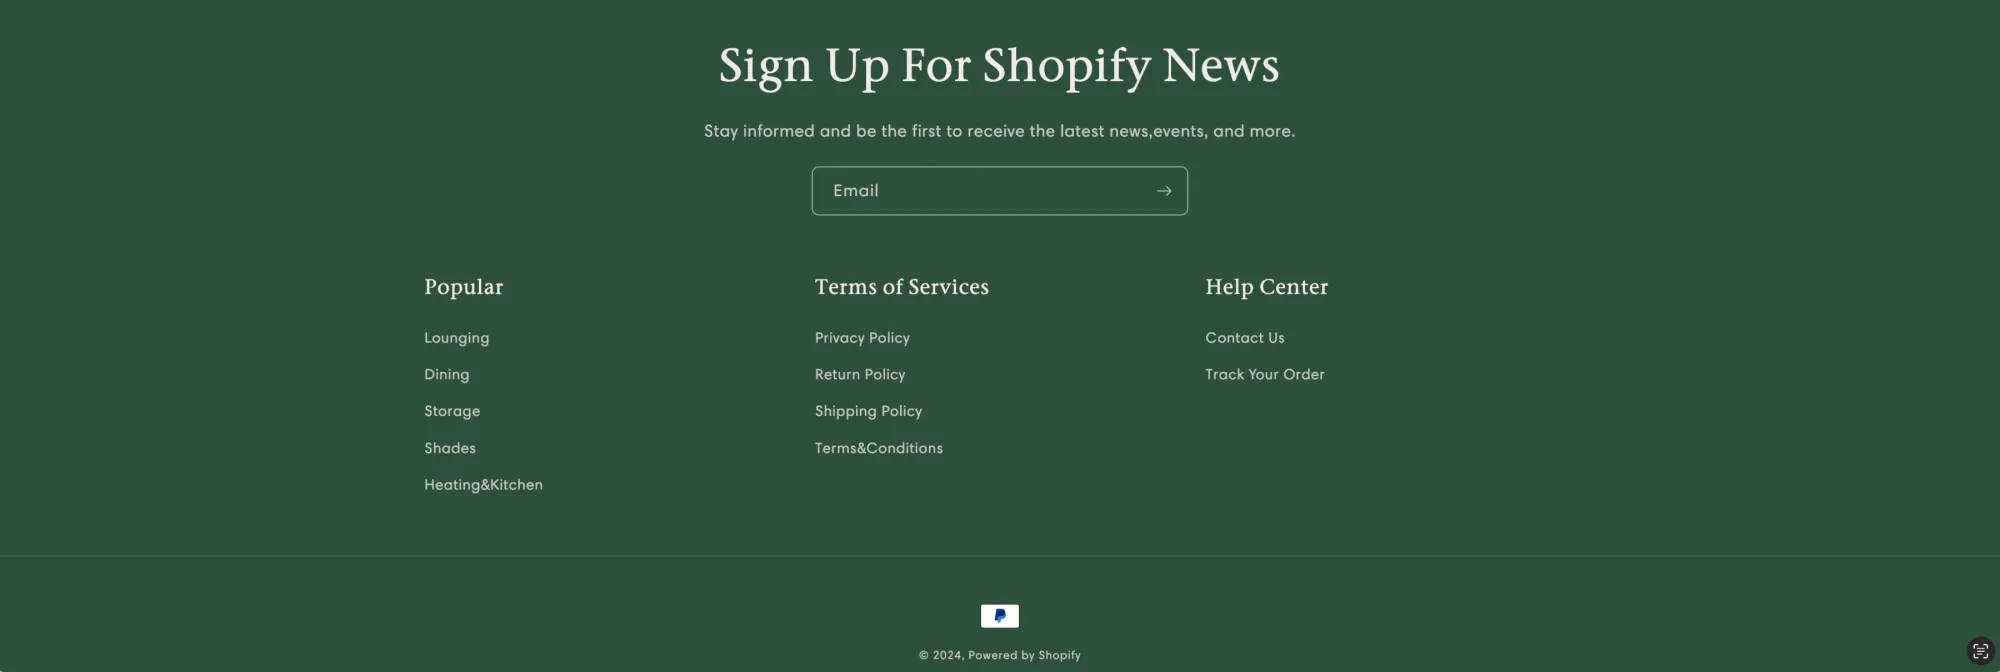
默认的状态虽然保持了界面上的简单,但存在弊端,比如在 Shopify 邮件营销软件 Omnisend 和 Klaviyo,以及 Shopify 自带的通知邮件 中,如果有客户名字信息,就会自动填充。
比如同一封营销邮件(Campaign Email),可以根据收件人自动填充不同的客户名称,使邮件看起来更加个性化,而不是一眼就能看出是群发的邮件。同时附带名字能提高邮件打开率,增加信任感,提升点击率,进而增加转化。
优点是显而易见的。
优化后的效果
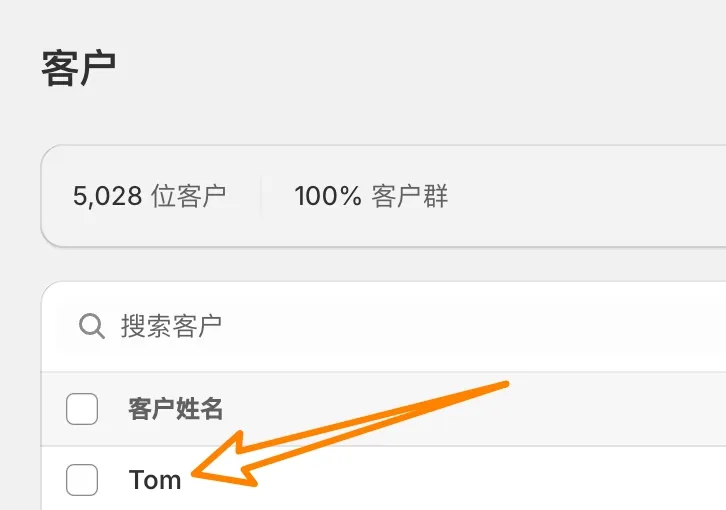
可以在 Shopify 店铺后台 ~ 客户界面直接看到新订阅用户的名字
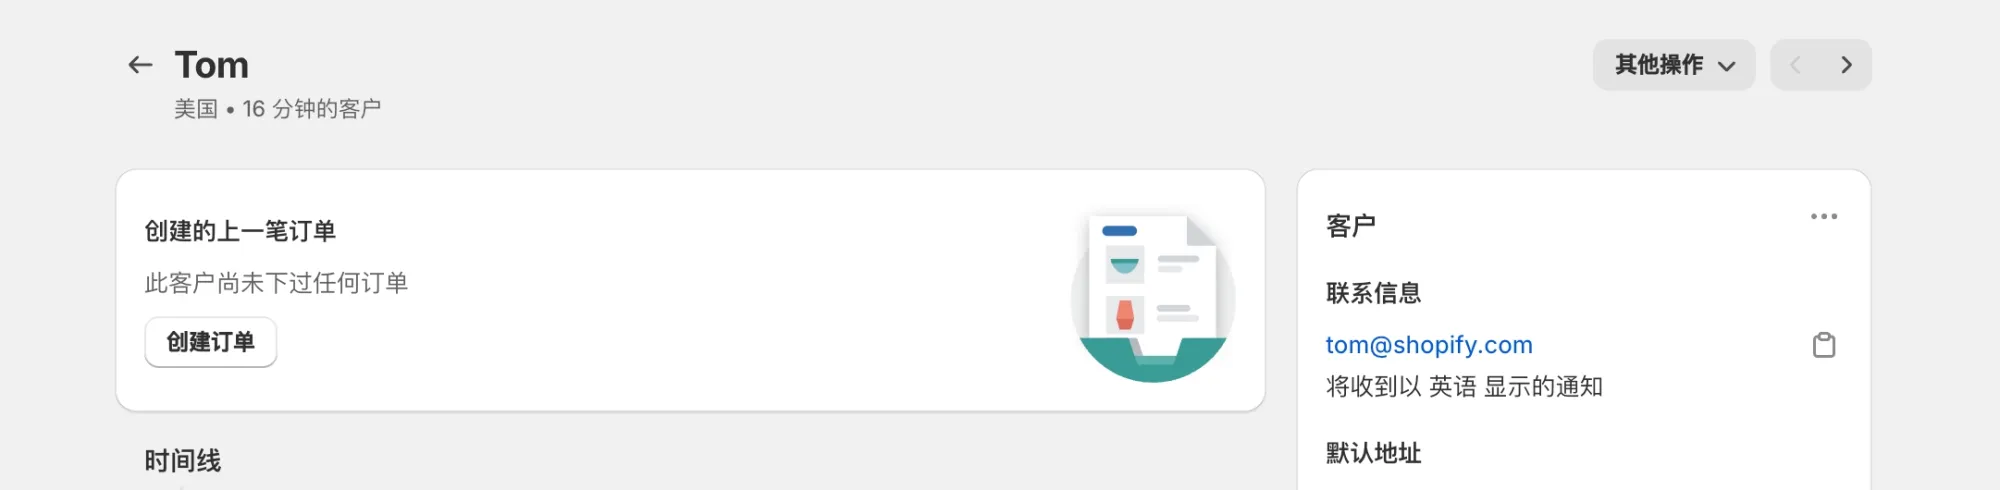
点击进去可以看到详细信息,还会在右下方显示自动添加的 newsletter Tag(这个是默认会添加的)
添加代码
代码分为两部分,分别对应 Footer(页脚)模块中的 block (块)以及 Newsletter Section(模块/分区),你可以根据自己的需求选择修改某一个文件或者两个都修改。
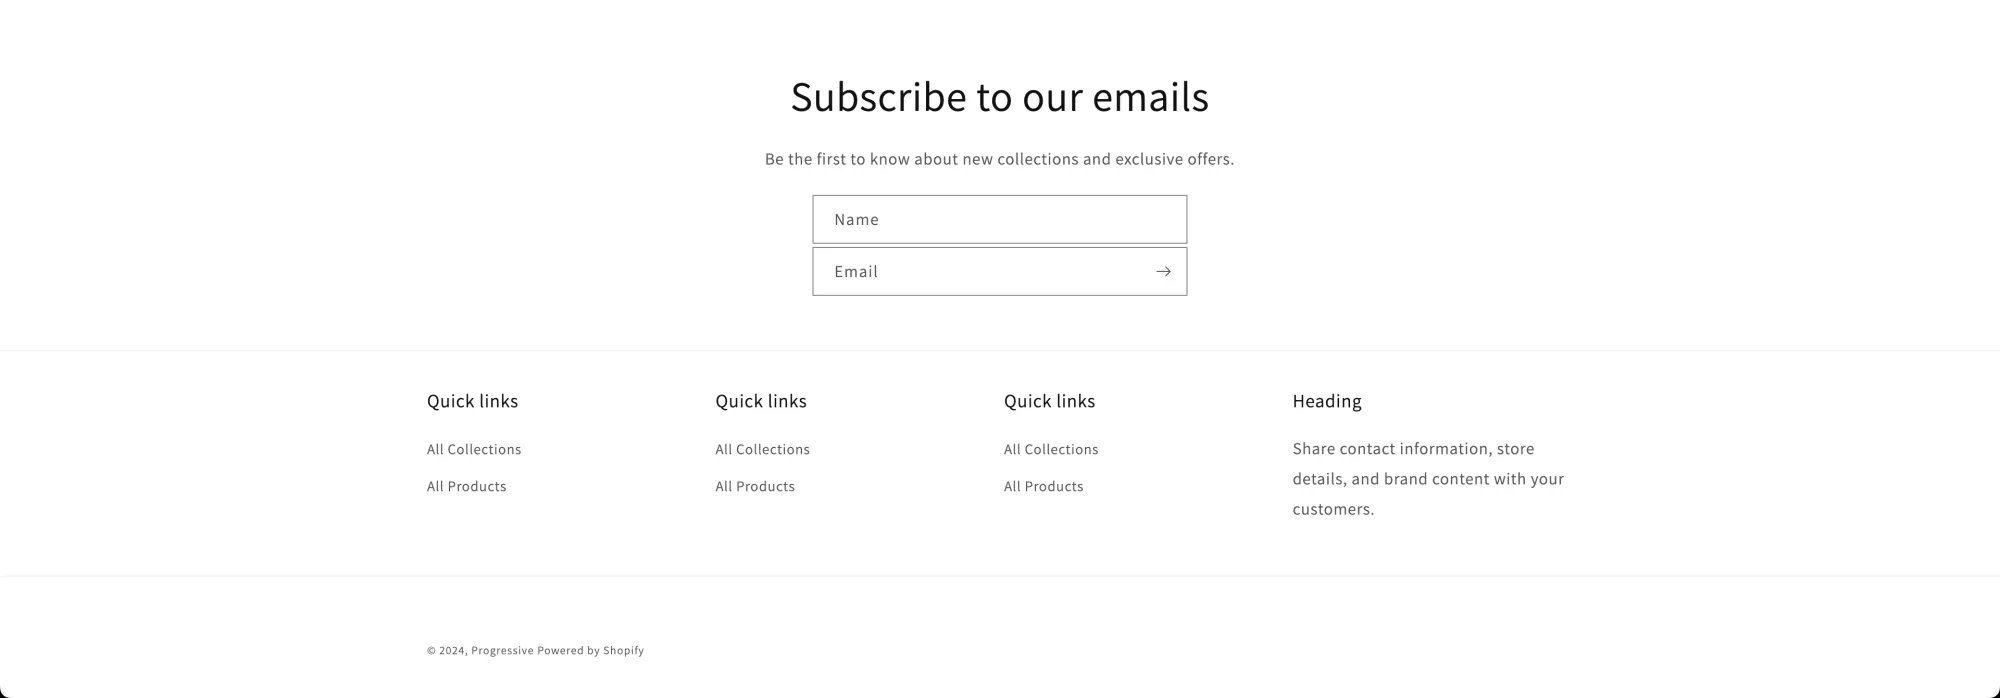
Newsletter 模块
修改后的效果:
在 Sections 文件夹 ~ newsletter.liquid 中复制搜索:
<div class="field">在其上方添加:
<style>
.newsletter .newsletter-form__field-wrapper {
display: flex;
flex-direction: column;
gap: 3px;
}
</style>
<div class="field">
<input
id="NewsletterForm--{{ section.id }}"
type="text"
name="contact[first_name]"
class="field__input"
value="{{ form.name }}"
autocorrect="off"
autocapitalize="off"
placeholder="Your Name"
>
<label class="field__label" for="NewsletterForm--{{ section.id }}">Name</label>
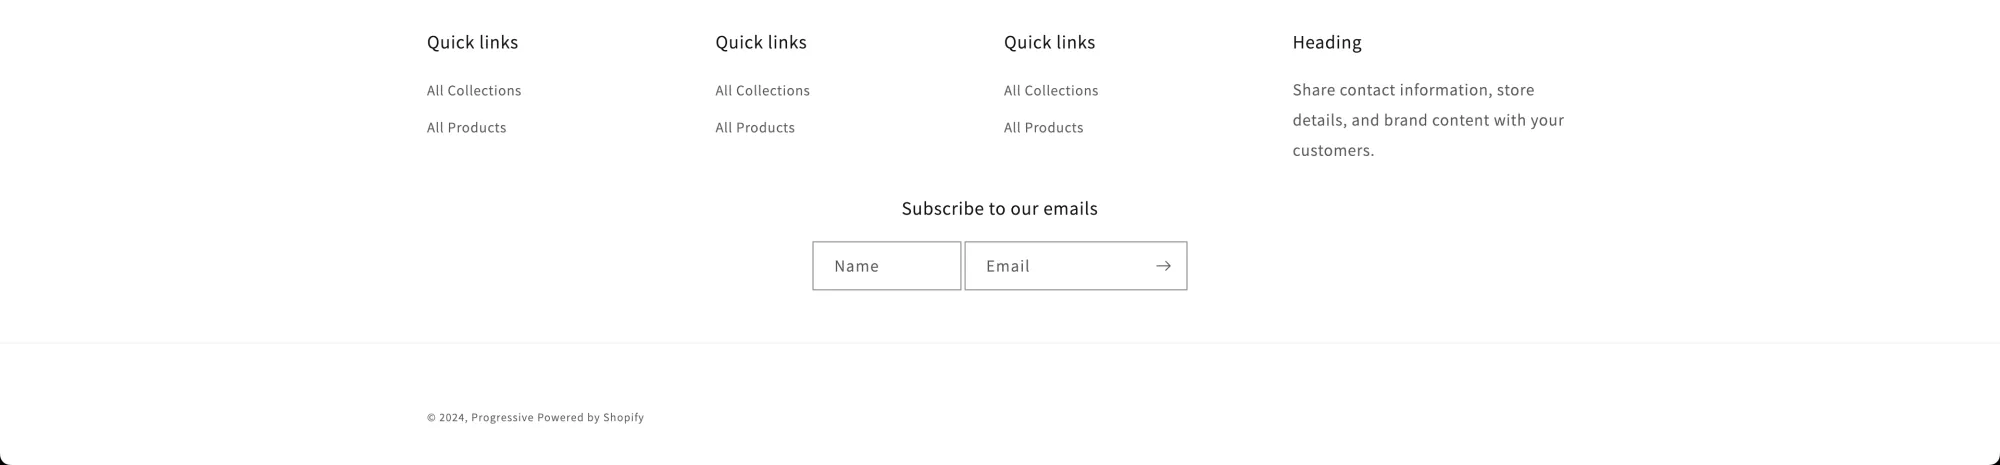
</div>Footer 中的 block
修改后的效果:
在 Sections 文件夹 ~ footer.liquid 中复制搜索:
<div class="field">在其上方添加:
<style>
  .footer-block--newsletter .newsletter-form__field-wrapper {
    display: flex;
    gap: 3px;
  }
  @media screen and (min-width: 769px) {
    .footer-block--newsletter .newsletter-form__field-wrapper .field:nth-of-type(1) {
      width: 40%;
    }
    .footer-block--newsletter .newsletter-form__field-wrapper .field:nth-of-type(2) {
      width: 60%;
    }
  }
  @media screen and (max-width: 768px) {
    .footer-block--newsletter .newsletter-form__field-wrapper {
      flex-direction: column;
    }
    .footer-block--newsletter .newsletter-form__field-wrapper .field {
      width: 80vw;
    }
  }
</style>
<div class="field">
  <input
    id="NewsletterForm--{{ section.id }}"
    type="text"
    name="contact[first_name]"
    class="field__input"
    value="{{ form.name }}"
    autocorrect="off"
    autocapitalize="words"
    placeholder="Your Name"
  >
  <label class="field__label" for="NewsletterForm--{{ section.id }}">Name</label>
</div>
通过修改上方代码中的 40% 和 60%,可以控制两个输入框的显示宽度,比如都修改成 50% 就是两边等宽。
Shopify 增强版主题 适用于所有官方推出的 2.0 主题 额外添加五十几项功能
Shopify 店铺用什么主题比较好?哪款主题更好用?Shopify增强版主题,添加几十项功能,支持一键开启或关闭。适用于所有Shopify推出的 2.0 版九款主题,减少插件安装,降低每个月的插件订阅费。访问查看具体内容与视频演示
 Shopify2006